 ELHEXA Codex
Celestial Armada

Celestial Armada is the second Expedition scenario, running alongside Nerissa’s Invasion. The Celestial Twins did not stop at the institute’s gates: Tyren Or-Vek and Vexa Ra-Syn have brought a fleet over the floating islands, and its engine core hangs in the sky above your home island. You have one hour to tear it out.
The Battlefield
Twelve strategic points, joined by thirteen roads, and for the first time nothing starts neutral. Your island — the fortress, a supply village and a fortified port — is yours; everything in the sky is the fleet’s. The engine core is the enemy flagship and cannot be captured: it is cleared only by killing what stands on it.
Two routes climb from your island to the core, one from the village and one from the port, and they are within a few seconds of the same length — a minute and a half to two minutes of marching if you never stop. Between them hang the fleet’s own installations: four crystal nodes, two artillery batteries, a captured field hospital and a drone base.
Because every sky point starts red, every one of them is also a reward: there is no scramble for neutral ground here, only ground to take back. And the fleet does not wait for you — raider constructs march on your island from the forward nodes the moment the hour starts.
The Whole Map
Twelve points and thirteen roads, drawn from the live scenario data. Your island sits at the bottom left; the engine core and the twins hang at the top right. The left route runs through a battery, the right through the other — whichever way you go, you climb past Vexa’s guns.
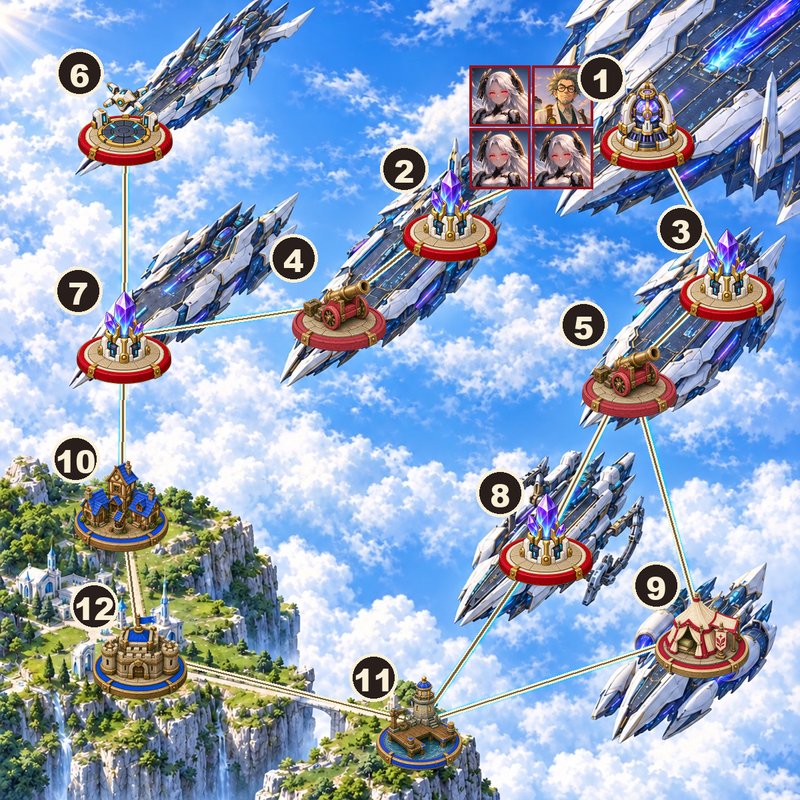
| # | Point | At the start | Time to take |
|---|---|---|---|
| 1 | Engine core | Enemy — the twins, 2 escorts | Cannot be captured |
| 2 | Crystal node — Tyren’s post | Enemy — Tyren + 3 constructs | 90s |
| 3 | Crystal node — Tyren’s post | Enemy — Tyren + 3 constructs | 90s |
| 4 | Artillery battery | Enemy — Vexa + 4 construct guards | 90s |
| 5 | Artillery battery | Enemy — Vexa + 4 construct guards | 90s |
| 6 | Drone base | Enemy — the factory | 30s |
| 7 | Crystal node | Enemy — 6 raider constructs | 90s |
| 8 | Crystal node | Enemy — 6 raider constructs | 90s |
| 9 | Field hospital | Enemy — 6 raider constructs | 90s |
| 10 | Supply village | Yours | 180s for the enemy to take |
| 11 | Fortified port | Yours | 180s for the enemy to take |
| 12 | Your fortress | Yours | 180s for the enemy to break |
The Points and What They Give
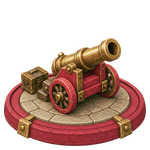
Twelve points, seven kinds. Colour tells you who holds one: blue is yours, red the fleet’s. Three of the kinds are new to this scenario.

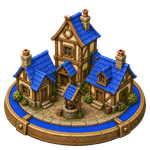
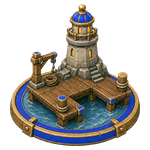
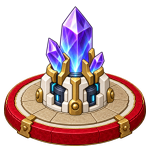



The Fleet
Enemies here are not defeated in a single battle. Each one must be beaten a set number of times before it is destroyed — that count is its health bar, and it is shared by everyone in the Expedition. Every captain’s win chips the same pool down.
| Enemy | On the map | Wins to destroy | Role |
|---|---|---|---|
 Tyren & Vexa | 1 | 50 | The commanders, fighting as one formation at the engine core. The Expedition is won when both of them fall — neither can be skipped. |
| Vexa, escort | 2 | 30 each | Shields the twins — the core cannot be touched while an escort stands. |
| Vexa, battery commander | 2 | 20 each | Holds an artillery battery each, behind four construct guards. The guards must fall first. |
 Tyren, siege engineer | 2 | 20 each | Holds a crystal node each, fronted by his three constructs — a pyramid, a sphere and a cube. The engineer himself is the target: when he falls, the post falls. |
 Construct guards | 4 per battery | 5 each | Mixed pyramid / sphere / cube packs standing between you and each battery commander. |
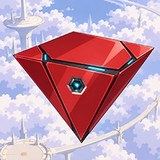 Raider constructs | 6 per point | 3 each | Hold the two forward crystal nodes and the hospital — and march on your island. |
 Drone packs | Produced | 3 each | Built by the drone base every minute while the enemy holds it; they hunt your points directly. |
Know the Constructs
The Drone Base Never Stops
The drone base produces a fresh pack every minute for as long as the fleet holds it, and its drones march away to hunt your points — so the base never fills up and never stops. It is the cheapest capture on the map, a short walk past the first crystal node on the left route, and it starts producing the moment the hour does. Taking it silences it instantly; losing it starts it again.
The Shape of a Run
Winning and Losing
- Victory is the destruction of both twins at the engine core — nothing else ends the Expedition early. You do not need to hold the sky, and you do not need to clear the drone base; they are means, not objectives.
- Defeat comes two ways: the hour expires, or the fleet takes your fortress. Your village and port can be lost and retaken, but the fortress is the one point you cannot trade away — and with raiders marching from the first minute, leaving the island completely undefended is how a strong offensive still loses.
What Actually Wins
- Take the drone base early. It is thirty seconds to capture and every minute it stays red is another pack hunting your island.
- Take the batteries. While the fleet holds them, every fight you start opens under a double bombardment; once a battery is yours, it fires for you instead.
- Retake the field hospital. It is your only one, and it starts in enemy hands — without it, knocked-out teams limp home and wounds go untreated.
- Bring both kinds of damage. A pyramid shrugs off blades and a sphere shrugs off spells; a team that has only one of them stalls at Tyren’s posts.
- Send carriers to the core. A team fighting the twins bleeds continuously and cannot refuel there.
- Keep someone home. Raiders march from the first minute, and the fortress is the one point you cannot afford to lose.
What You Bring Home
Everything an Expedition pays comes as chests, opened afterwards from your bag. There are five kinds, each in six grades — the grade rises with the difficulty you played and with what you achieved, and the contents scale with it. Two of the five are new.



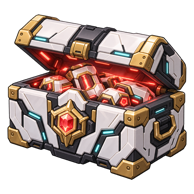
The Vexa chest’s parts, blueprints and essences craft the Vexa set, and the thread and fur that drop here feed the crafted sets’ cloth and leather — see Crafter → Vexa for the recipes and Equipment → Sets for what the set does.
How Chests Are Earned
- Simply taking part — every captain who contributed gets a base pile.
- Beating a particular enemy, with the twins paying the richest and each Vexa and Tyren post paying its own line.
- The expedition’s collective kill count, shared by everyone.
- Expedition achievements — holding a point kind all the way to the end, or never letting your fortress be dented.
- Your own contribution: your score, your share of it, and your final rank.
On top of the chests, every hero on a team still standing at the end earns experience — multiplied by the difficulty, and by far the largest single payout for beating the twins. Give up and you forfeit all of it.
Rewards
Your reward is a set of chests, scaled by the difficulty you played and by how much you actually contributed — fighting, taking ground and delivering supply all count. Every hero on a team still standing at the end also earns experience, and that experience is multiplied by difficulty. Winning matters: Expedition Campaign II → scores every Celestial Armada run you finish, and pays most for the ones you win.